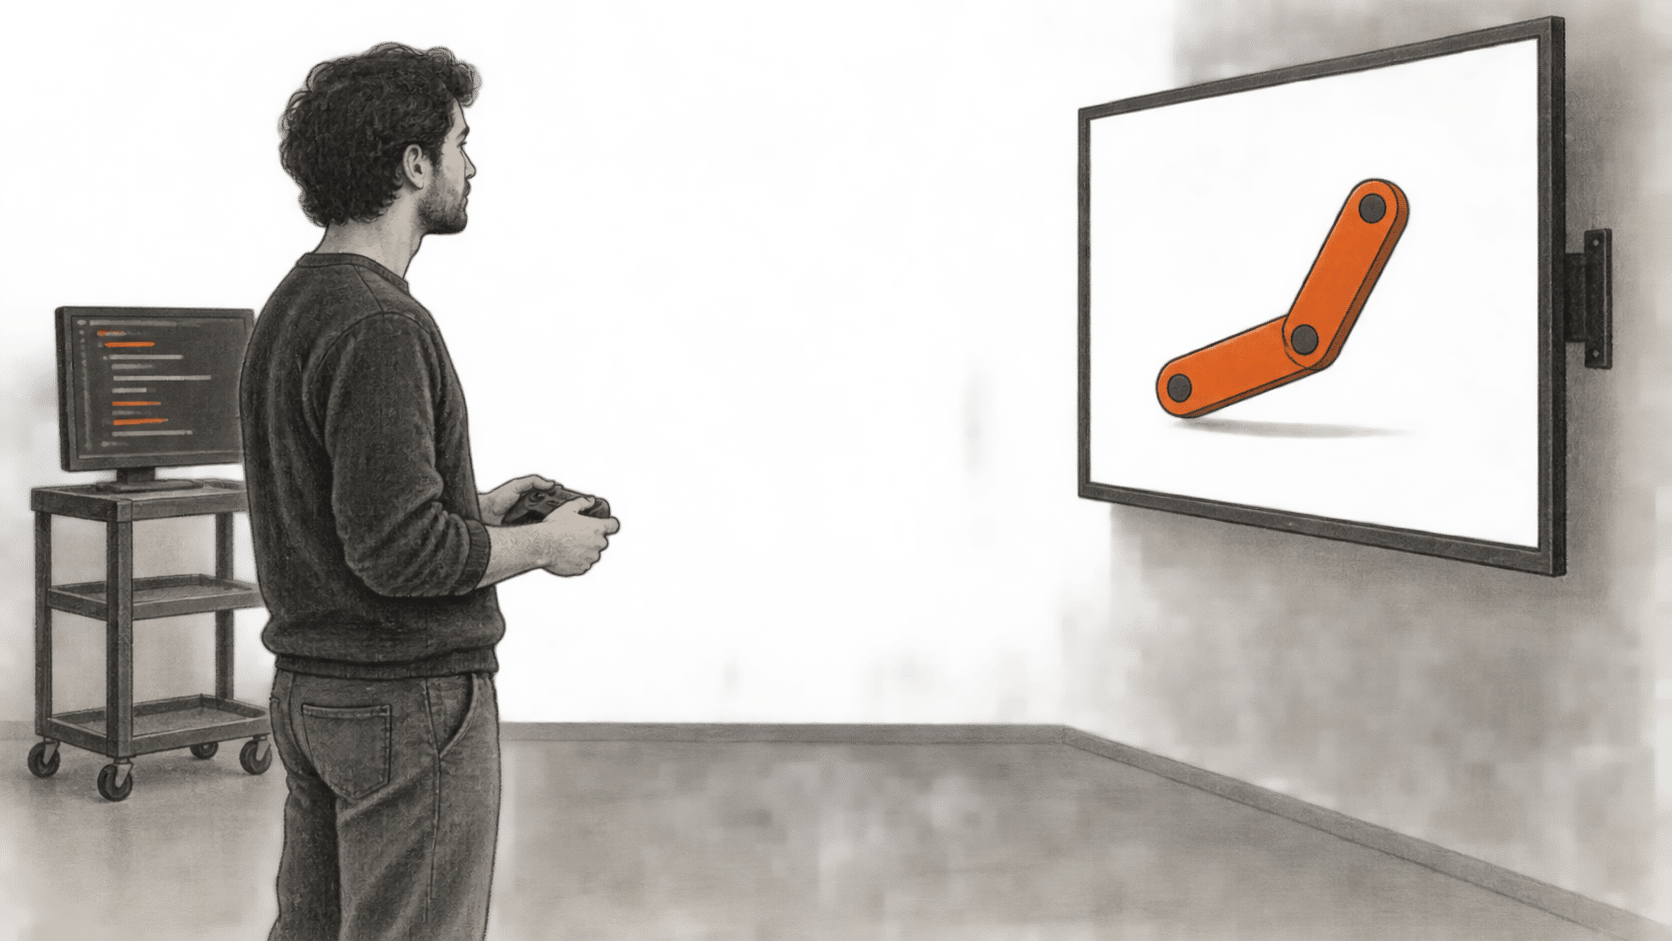
Rive's new CLI lets a coding agent work on interactive graphics as project files. The agent can write Rive Markup Language (RML), Luau scripts and shaders, then ask the CLI to compile, inspect, test and render the result. A person can watch the local preview and revise the design. Rive staff introduced the CLI as a technical preview on September 11; Rive's Downloads page, checked September 27, lists it under Early Access.
This checklist follows Rive's documentation. BIG CHANGE reviewed the docs only. We did not install the CLI, build a file or test an agent-produced graphic. Rive's video walkthrough shows the intended human-and-agent process.
The big change
- What changed: Rive scenes now have a text-based path for coding agents. An agent can edit RML in a project folder, while the CLI compiles a
.rivfor runtimes or a.revfor further work in the Editor. - Why it matters: Designers and front-end or game developers can review source changes alongside their other project files and use CLI checks while iterating. They still need to judge the rendered design and interactions before using the asset in a product.
- What to watch: Moving a local prototype to the web is a separate decision. Files with scripts need a signed
--publishbuild; a clean.rivalso needs an account-file binding and a Cadet-or-higher workspace. Check those conditions and the final graphic before deployment.
The documented to-do list
- Check access and install. Rive lists macOS on Apple Silicon, Linux x86_64 and Windows as supported. Its Getting Started guide provides separate installer instructions for Windows and macOS/Linux; use the current Windows instructions on that page. Run
rive doctorafter installation. The command reference also documentsrive --version; record the version you actually install because this is preview software. Rive's September 11 announcement said the CLI was free without limits during the preview. That dated statement does not establish a permanent CLI price. The current plan table concerns Rive accounts and the built-in Editor Agent, so check current terms before publishing. - Create a text project and open the preview.
rive create myprojectmakesscene.rml,rive.yaml, agent instructions inAGENTS.mdandCLAUDE.md, and a.gitignore. Runrive myprojectin one terminal. According to Rive, it watches the folder, rebuilds on saves and writesmyproject/build/myproject.riv. The starter scene has an artboard, timeline and state machine, but nothing drawn yet. Its initial preview is a dark rectangle. - Give a coding agent the project folder and a specific design task. Rive's AI Agents guide names Claude Code, Cursor or another agent able to read and write files and run shell commands. The generated instructions tell the agent how to use
rive docsandrive schemato find supported objects and properties. RML is XML: elements represent Rive types, attributes represent their properties and nesting connects objects. The agent can also edit.luauscripts,.wgslshaders and project assets. Ask it to work in stages so you can redirect layout and behavior while the preview updates. - Check the build and what it contains. Ask the agent to run
rive myproject --verify, which compiles without writing a.riv, andrive inspect myproject --summary, which reports problems and object counts. For the full resolved scene,rive inspect myproject --jsonis documented. If the project needs a distributable local file without opening the preview,rive myproject --oncewrites an unsigned.riv. These checks can find compilation errors and missing or unexpected scene objects. Rive's RML guide warns that a clean build does not establish that a graphic looks or behaves as intended. - Capture the states that matter.
rive myproject --screenshot=out.pngrenders a PNG without a window. Rive's examples use--advance=1sfor a frame after the animation starts,--viewport=390x844for a chosen layout size,--data=battery/level=100for bound data and--pointer=click@120,60 --advance=20for a simulated click. Choose values and coordinates from your own scene. Compare captures across states and viewport sizes, then inspect them yourself. A capture without--advanceis the authored rest pose; it is not necessarily the opening animation frame. - Run script tests where the project has them.
rive myproject --testruns the project's LuauTestsscripts. Rive documents--verify --format=jsonand--test --format=jsonfor automated checks; failed builds and tests return nonzero exits. An agent can use those reports to revise its source. Tests only cover assertions actually written, so review the interactions the tests omit. - Choose the account path when the local prototype is ready. A
.rivis the runtime asset; a.revopens for editing in the Rive Editor. Rive says local creation, preview, verification, tests and screenshots work signed out and offline.rive loginis needed for--publish,--rev,rive push,rive pulland importing a remote account file. To start from an exported Editor backup,rive create myproject --from-rev=myfile.revworks without login. To start from an account file, userive create myproject --from-remote-fileafter login. The latter links the project to that file:rive push myprojectuploads a revision;rive pull myprojectbrings Editor changes down and overwrites local scene, scripts and assets after confirmation. Review local changes before pulling. - Check signing and export limits before shipping.
rive myproject --publishwrites a signed.rivand requires login. Rive says web runtimes and its CDN reject unsigned scripts, so a file containing scripts for the web must use this path.--publishmay add a watermark. Rive's command reference says a clean.rivrequires the project to be bound to an account file throughrive pushand that file to be in a workspace on Cadet or higher. The watermark condition applies even if the scene has no scripts.--rev=<path>also requires login and can accompany--onceor--publish; it writes an Editor file, not a runtime substitute. Check the current account plan and the actual exported result before deployment.
Rive also has an AI Agent built into the Editor. It opens from the Editor sidebar and is subject to the Editor's plan and AI credit terms. This guide's folder-and-terminal workflow uses a coding agent paired with the CLI; the two agent routes have different interfaces and billing contexts.
Sources & further reading
- Rive CLI overview explains the terminal workflow, output formats, preview and account-file exchange.
- Getting Started gives supported systems, installation, scaffold contents, local build and sign-in conditions.
- Working with AI Agents shows how a coding agent uses the generated project instructions and CLI feedback. The built-in Editor Agent guide describes the separate Editor interface.
- RML guide, command reference and examples substantiate the file model, exact commands, testing, capture behavior and publishing limits.
- September 11 staff announcement dates the technical preview and its temporary free-CLI statement. Downloads currently labels the CLI Early Access; pricing lists account plans. Watch Rive's video walkthrough for the human-and-agent process.